Nick A
-
Posts
620 -
Joined
-
Last visited
Content Type
Forums
Store
Crowdfunding
Applications
Events
Raffles
Community Map
Everything posted by Nick A
-
Which image are you using? Axp313? https://github.com/NickAlilovic/build/releases/download/20250306/Armbian-unofficial_25.05.0-trunk_Tanix-tx6s-axp313_bookworm_edge_6.12.11.img.xz
-
@Aleqssandro Farias your miniarch image says it’s using Tanix TX6s (axp313). Try the armbian version. https://github.com/NickAlilovic/build/releases/download/20250306/Armbian-unofficial_25.05.0-trunk_Tanix-tx6s-axp313_bookworm_edge_6.12.11.img.xz
-
@Aleqssandro Farias have you tried this image? https://github.com/NickAlilovic/build/releases/download/20250306/Armbian-unofficial_25.05.0-trunk_X96q-lpddr3-v1-3_bookworm_edge_6.12.11_xfce_desktop.img.xz
-
I think the only difference with x98h is the emmc gpio #. So it should boot but not off of emmc. Unless x98h has the correct value. I'm not sure if this will fix your problem because it's the kernel not detecting your dram. I don't know why. You can ask for help in this IRC channel. https://oftc.catirclogs.org/linux-sunxi/2025-05-18 You can find the dram config options here. I don't see TPR13 as an option so you can leave that out. https://elixir.bootlin.com/u-boot/v2025.07-rc2/source/arch/arm/mach-sunxi/Kconfig if DRAM_SUN50I_H616 config DRAM_SUNXI_DX_ODT hex "DRAM DX ODT parameter" help DX ODT value from vendor DRAM settings. config DRAM_SUNXI_DX_DRI hex "DRAM DX DRI parameter" help DX DRI value from vendor DRAM settings. config DRAM_SUNXI_CA_DRI hex "DRAM CA DRI parameter" help CA DRI value from vendor DRAM settings. config DRAM_SUNXI_ODT_EN hex "DRAM ODT EN parameter" default 0x1 help ODT EN value from vendor DRAM settings. config DRAM_SUNXI_TPR0 hex "DRAM TPR0 parameter" default 0x0 help TPR0 value from vendor DRAM settings. config DRAM_SUNXI_TPR2 hex "DRAM TPR2 parameter" default 0x0 help TPR2 value from vendor DRAM settings. config DRAM_SUNXI_TPR6 hex "DRAM TPR6 parameter" default 0x3300c080 help TPR6 value from vendor DRAM settings. config DRAM_SUNXI_TPR10 hex "DRAM TPR10 parameter" help TPR10 value from vendor DRAM settings. It tells which features should be configured, like write leveling, read calibration, etc. config DRAM_SUNXI_TPR11 hex "DRAM TPR11 parameter" default 0x0 help TPR11 value from vendor DRAM settings. config DRAM_SUNXI_TPR12 hex "DRAM TPR12 parameter" default 0x0 help TPR12 value from vendor DRAM settings.
-
You need to add the module config to the kernel configuration file and compile a new image. Edit the kernel configuration file manually. CONFIG_WLAN_VENDOR_MEDIATEK=y CONFIG_MT7601U=m Im very busy with work so I can’t do this for you right now.
-
Not sure which board you are using but if you look at the u-boot defconfig file you will see the dram config in there. https://github.com/NickAlilovic/build/blob/v20250306/patch/u-boot/u-boot-h616/171-add-x98h-defconfig.patch The row with h616 is your dram config settings
-
@rafaeldavid Try a different sdcard.
-
You could use this tool to extract your dram settings from an android update or boot0.bin. https://github.com/apritzel/sunxi-fw sunxi-fw info -v boot0.bin
-
It shouldn’t take that long.. did you try booting without the sdcard?
-
I wouldn’t upgrade without freezing the kernel update first. It looks like you copied something to emmc. It takes awhile to copy everything to emmc.
-
@rafaeldavid can you show me the output when you type in the command "fdisk -l"
-
@Rodrigo Campos The patch is only for uboot and it’s already in my newer builds. I guess there’s an issue with the kernel.
-
@eas07027 That install guide is for x86. dpkg -i os-agent_1.7.2_linux_x86_64.deb Try this https://community.home-assistant.io/t/installing-home-assistant-supervised-on-a-raspberry-pi-using-debian-12/247116 I haven’t installed home assistant before so I can’t help much. If home assistant is using docker you need to run these commands.
-
@Rodrigo Campos the patch is less then three months old. If you need secure boot i have the steps here. You just need to edit the defconfig patch for the board you are using.
-
Which build are you using? Is your internal emmc detected on boot?
-
I see this isn't set. I'll change it and make a new image for you. https://github.com/NickAlilovic/build/blob/v20250306/config/kernel/linux-sunxi64-edge.config # CONFIG_WLAN_VENDOR_MEDIATEK is not set CONFIG_WLAN_VENDOR_MEDIATEK=y CONFIG_MT7601U=m https://cateee.net/lkddb/web-lkddb/WLAN_VENDOR_MEDIATEK.html @svyatoslav https://github.com/NickAlilovic/build/releases/download/20250306/Armbian-unofficial_25.05.0-trunk_X98h_bookworm_edge_6.12.11_xfce_desktop.img.xz You might need the firmware for it.. https://forum.odroid.com/viewtopic.php?p=371686&sid=626a6750240ccb1b690a1e2c6e0eba88#p371686
-
Is this an error in the build or installing jammy?
-
What’s the error this time?
-
You need jammy installed https://releases.ubuntu.com/jammy/
-
@svyatoslav are you using Ubuntu jammy? https://releases.ubuntu.com/jammy/
-
@svyatoslav are using an ethernet hub? if yes try using the first port or other ports. [ 7.956904] ahub_dam-snd-soc-dummy-dai: substream ahub_dam-snd-soc-dummy-dai has no playback, no capture [ 7.956931] sunxi-snd-mach soc:ahub_dam_mach: ASoC: can't create pcm ahub_dam-snd-soc-dummy-dai :-22 [ 7.957123] sunxi-snd-mach soc:ahub_dam_mach: probe with driver sunxi-snd-mach failed with error -22 Don't worry about this error sound should work. "aplay -l" will list the hardware devices. I have audiocodec and HDMI on my box. You can use pulse audio to switch the default sink.
-
You need a PC... it would probably take days to compile a build on a SBC.
-
@979101h I have the original X98H. I'll test the image again on my box. Edit: Just tested the server image on my box. I have no issues with Ethernet. I have all the same messages but your missing. end0:Link is up - 100Mbps/Full - flow control rx/tx Someone with a x96q had issues with ethernet. He got it working using sicxnull version. I think the difference was this. Try changing the u-boot dts and use 0 instead of 16. https://github.com/NickAlilovic/build/blob/v20250306/patch/u-boot/u-boot-h616/171-add-x98h-defconfig.patch +&mdio1 { + rmii_phy: ethernet-phy@0 { + compatible = "ethernet-phy-ieee802.3-c22"; + reg = <0>; + }; +}; git clone https://github.com/NickAlilovic/build.git --branch v20250306 cd build pico patch/u-boot/u-boot-h616/171-add-x98h-defconfig.patch ./compile.sh choose "Do not change kernel configuration" choose "Show CSC/WIP/EOS/TVB" choose "I understand and agree" choose "x98h" choose "edge" rest is up to you. Your image should be in output/images directory. sicxnull version https://github.com/sicXnull/armbian-build/blob/X96Q-5.1-DDR3/patch/u-boot/u-boot-sunxi/board_x96q-v5-1/arm64-sun50i-h313-add-x96-q-ddr3-v5.1-defconfig.patch
-
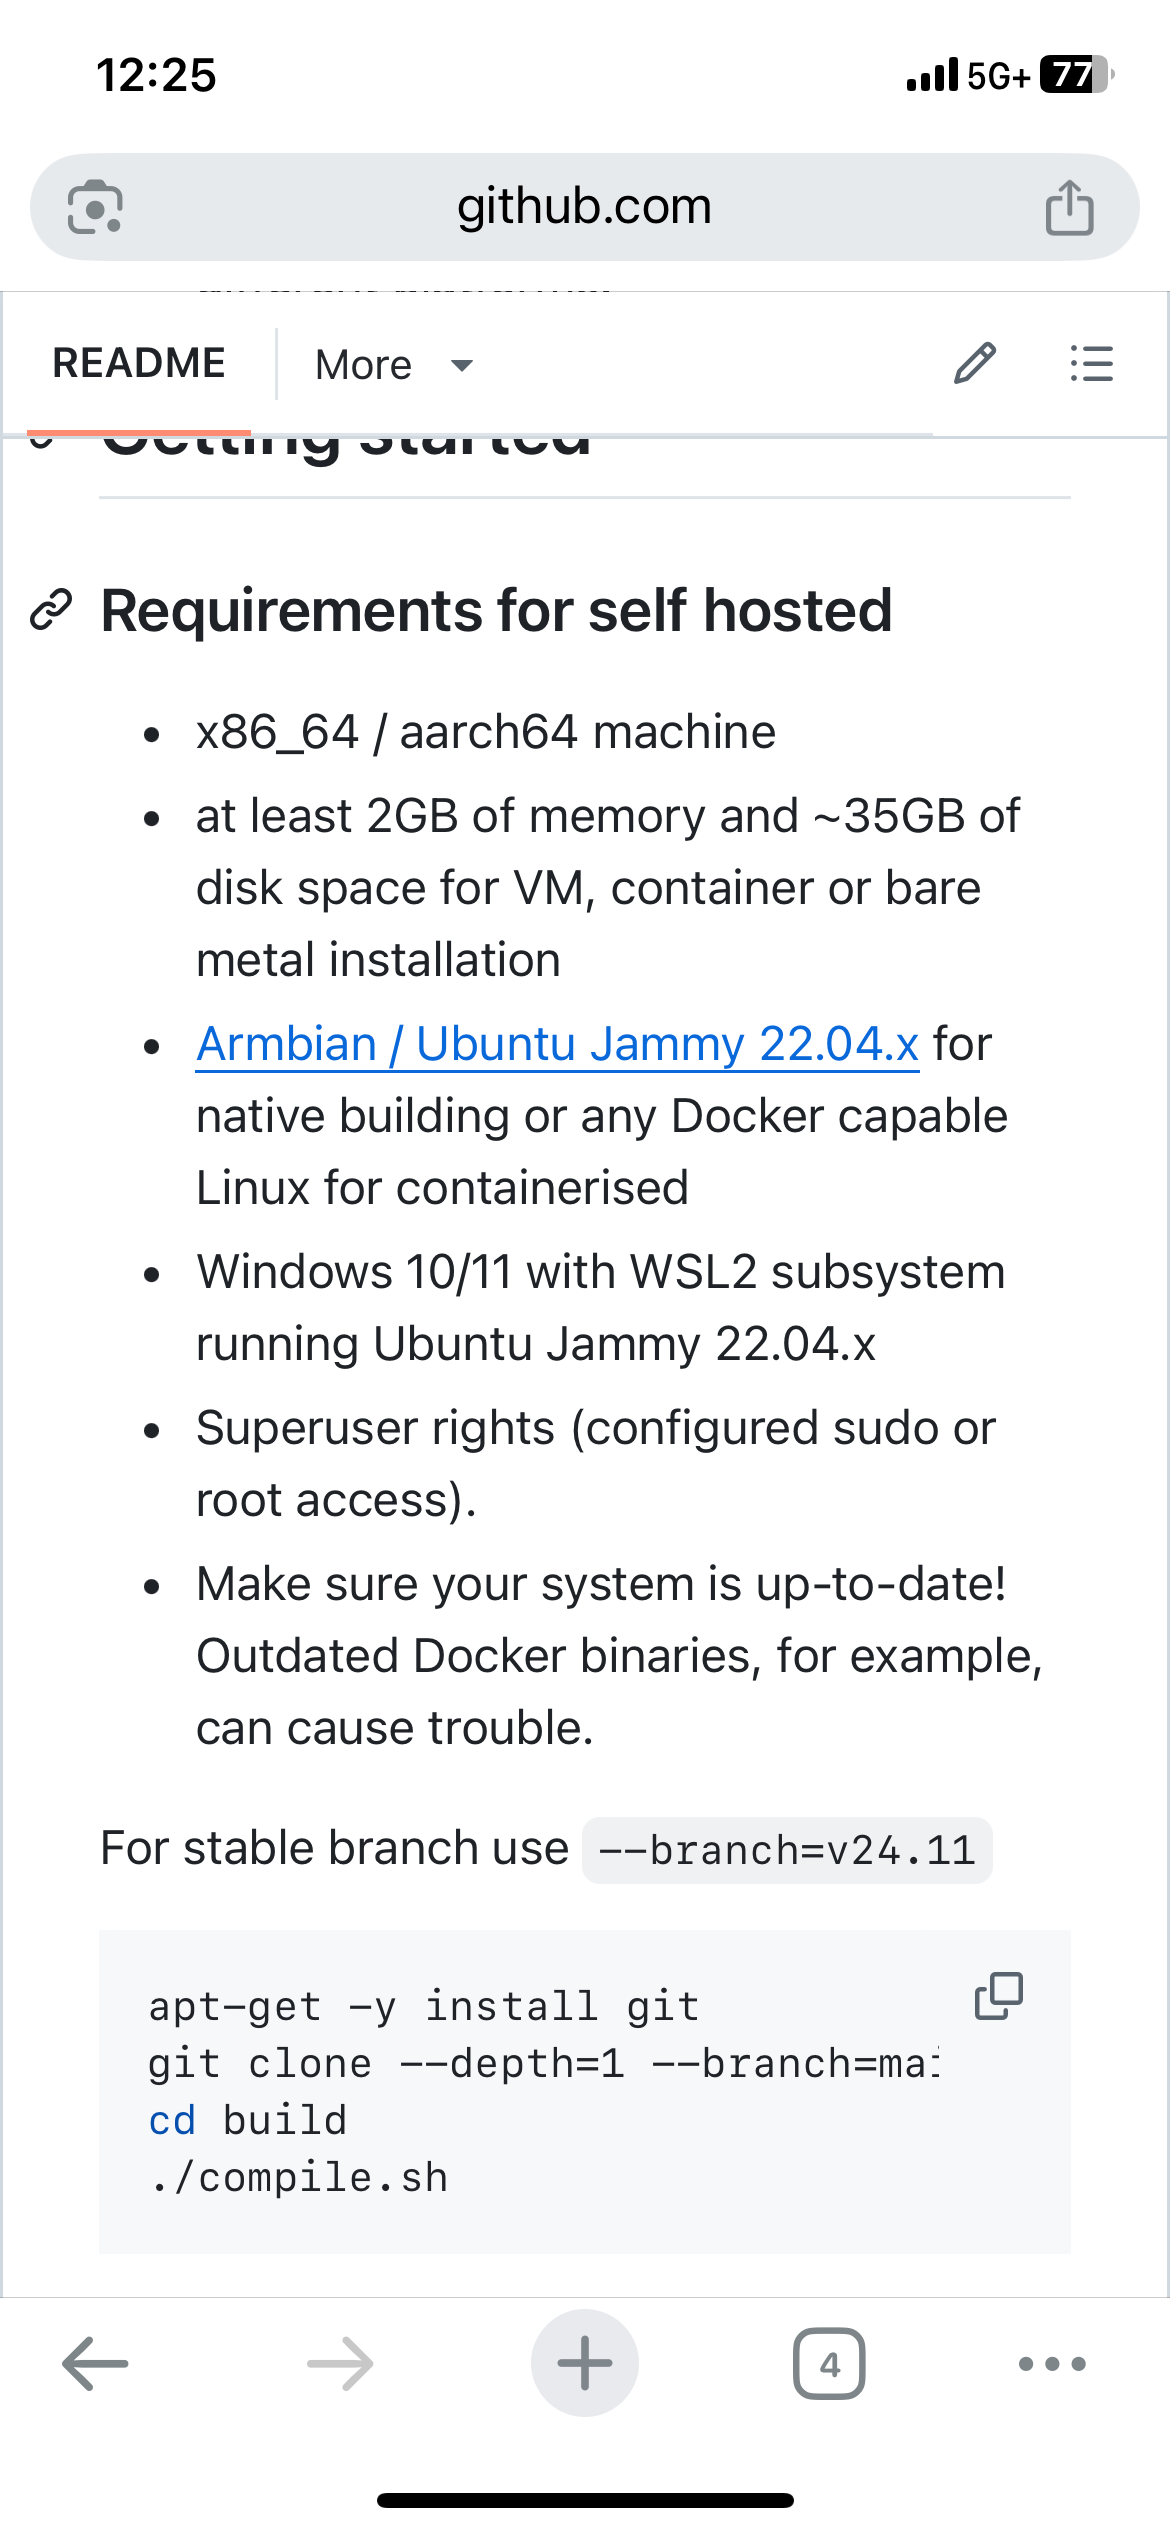
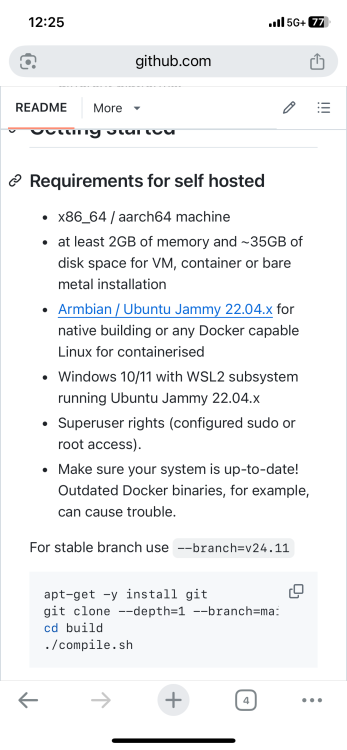
Try installing these yourself before you build.. the build system recommends Ubuntu Jammy 22.04.x sudo apt install bison libc6-dev make dpkg-dev gcc ccache dwarves flex imagemagick libbison-dev libelf-dev libfdt-dev libfile-fcntllock-perl libmpc-dev libfl-dev lz4 libncurses-dev libssl-dev libusb-1.0-0-dev ntpdate patchutils pkg-config pv arch-test swig uuid-dev zlib1g-dev file tree expect colorized-logs zip pigz pbzip2 lzop zstd aria2 axel parallel rdfind libpython3-dev libffi-dev libgnutls28-dev gcc-aarch64-linux-gnu libc6-amd64-cross busybox gcc-arm-linux-gnueabi gcc-or1k-elf
-
@svyatoslav are you using my latest build? git clone https://github.com/NickAlilovic/build.git --branch v20250306