


BLFC
-
Posts
5 -
Joined
-
Last visited
Content Type
Forums
Store
Crowdfunding
Applications
Events
Raffles
Community Map
Posts posted by BLFC
-
-
Hello
My box needs a power cycle if I do sudo reboot and the wifi driver doesn't load so I tried to download its DTS to find the right overlay and rk322x-config correct choices but I'm a bit lost reading it, can someone point me to the right direction?
The file is at this link 05_dtbdump_rockchip,rk3229.dts and the backup image file is at tvbox-backup.gz
I don't know if it is the correct (or easier) procedure but here is how I get the DTSSpoiler$ pip install extract-dtb $ gunzip tvbox-backup.gz $ extract-dtb -n tvbox-backup Found 10 appended dtbs $ extract-dtb tvbox-backup -o /tmp/dtb Dumped 00_kernel, start=0 end=8571676 Dumped 01_dtbdump_`7@-.dtb, start=8571676 end=9620252 Dumped 02_dtbdump_`7@-.dtb, start=9620252 end=10668828 Dumped 03_dtbdump_`7@-.dtb, start=10668828 end=11717404 Dumped 04_dtbdump_`7@-.dtb, start=11717404 end=26215936 Dumped 05_dtbdump_rockchip,rk3229.dtb, start=26215936 end=41945364 Dumped 06_dtbdump_d0 _.dtb, start=41945364 end=41950656 Dumped 07_dtbdump__8@-.dtb, start=41950656 end=41955800 Dumped 08_dtbdump_@__!!.dtb, start=41955800 end=41957638 Dumped 09_dtbdump_AT.\.dtb, start=41957638 end=1000067848 Dumped 10_dtbdump.dtb $ sudo apt-get install device-tree-compiler $ dtc -I dtb -O dts -o 05_dtbdump_rockchip,rk3229.dts /tmp/dtb/05_dtbdump_rockchip,rk3229.dtbMy box pictures and info are at
Any help or pointers will be greatelly appreciated, thanks!
!3runo
from Brazil
-
Successfully built on armv7l. Thanks for releasing the script!
[ 2810.712732] rtl8188fu: loading out-of-tree module taints kernel.
[ 2810.818513] =======================================================
[ 2810.818520] ==== Launching Wi-Fi driver! (Powered by Rockchip) ====
[ 2810.818525] =======================================================
[ 2810.818529] Realtek 8188FU USB WiFi driver (Powered by Rockchip) init.
[ 2810.818535] RTL871X: module init start
[ 2810.818541] RTL871X: rtl8188fu v4.3.23.6_20964.20170110
[ 2810.820396] usbcore: registered new interface driver rtl8188fu
[ 2810.820456] RTL871X: module init ret=0
May I ask if I need to run it again every time I upgrade the kernel?
Cheers
!3runo
from Brazil
-
Quote
any suggestions the best way to install home assistant?
QuoteWhat version of Armbian do I need to install in order for Home Assistant to work? I tried 2 different versions and always got this kind of error
@chrisrer My box is running so well that I managed to write a procedure to install HA on it.
@Scmel I find a fix for the error you reported, check bellow
Spoiler1) Dependencies
sudo apt install apparmor cifs-utils nfs-common systemd-journal-remote udisks2 -y
# no need to install systemd-resolved on my Ubuntu system, it doesnt have a package but it is running.systemctl status systemd-resolved
# If you are using Debian perhaps you need to install it with sudo apt install systemd-resolved
# these bellow may already be installed. YMMV
sudo apt install curl dbus jq libglib2.0-bin lsb-release network-manager wget -y2) Docker
# Docker dependencies
sudo apt install python3-pip python3-dev libffi-dev libssl-dev(This procedure is for Ubuntu - I don't have a Debian to test)
curl -fsSL https://download.docker.com/linux/ubuntu/gpg | sudo apt-key add -
# Verify that you now have the key with the fingerprint 9DC8 5822 9FC7 DD38 854A E2D8 8D81 803C 0EBF CD88 - you may skip this
apt-key fingerprint 0EBFCD88
# Docker PPA
add-apt-repository "deb [arch=armhf] https://download.docker.com/linux/ubuntu $(lsb_release -cs) stable"
apt-get install docker-ce docker-ce-cli containerd.io
sudo docker run --rm hello-world # test - you may skip
docker --version3) OS-Agent installation
# download and install home assistant os-agent (you may check if there is a newer one there)
wget https://github.com/home-assistant/os-agent/releases/download/1.6.0/os-agent_1.6.0_linux_armv7.deb
sudo dpkg -i ./os-agent_1.6.0_linux_armv7.deb# You can test if the installation was successful by running:
gdbus introspect --system --dest io.hass.os --object-path /io/hass/os
# This should not return an error. If you get an object introspection with interface etc. OS Agent is working as expected.
4) Home assistant supervised installation
# Please add the following line to /boot/armbianEnv.txt extraargs line and reboot before continuing
systemd.unified_cgroup_hierarchy=false
# Get the HA Supervised deb
wget -O homeassistant-supervised.deb https://github.com/home-assistant/supervised-installer/releases/latest/download/homeassistant-supervised.deb
# If you are using Debian 11 or 12 just install it
sudo dpkg -i homeassistant-supervised.deb
# If you are using Ubuntu (like me), the deb file tests $(lsb_release -d) (/etc/os-release $PRETTY_NAME) seeking for Debian 11 or 12 presence. I read suggestions about modifying /etc/os-release, changing the /usr/bin/lsb_release script for a fake one telling my Ubuntu system is debian but <i>here</i> homeassistant-supervised.deb's preinst script always got the real Ubuntu version name I am using. Perhaps modifying /etc/os-release needs a reboot - which I didn't do-, I really don't know, so I just fix and repack the deb -- instructions bellow
mkdir -p newpack oldpack/DEBIAN
dpkg-deb -x ./homeassistant-supervised.deb oldpack
dpkg-deb -e ./homeassistant-supervised.deb oldpack/DEBIAN
sed -i 's/os_supported=false/os_supported=true/' oldpack/DEBIAN/preinst
sed -i 's/, systemd-resolved//' oldpack/DEBIAN/controldpkg-deb -Z xz -b oldpack/ newpack/
sudo dpkg -i newpack/homeassistant-supervised_1.5.0_all.deb# you may delete oldpack dir and original homeassistant-supervised.deb file now
# For BOTH Debiand and Ubuntu, when in the installation type selection window, select "qemuarm" for armv7, <b>this is important</b>!
5) After this installation, the services for deploying the docker container will immediately load automatically. Note that it took me ~15 minutes! You can see what is happening through a browser
6) For autoload, you need to activate autoload services:
sudo systemctl enable hassio-apparmor.service
sudo systemctl enable hassio-supervisor.service# For Bluetooth integration to work, you must install "sudo apt-get -y install bluez" into the system beforehand.
7) The default path for our $DATA_SHARE is /usr/share/hassio. This path is used to store all home assistant related things.
😎 Almost done
Open a web browser and navigate to http://yourDNSorIP:8123/
Wait while Home Assistant initializes
Enter a Name, Username and Password to create a Home Assistant user account > Click Create Account
Enter a Name for this Home Assistant installation (ie Home)
Click Detect to set the installation geolocation
Select any anonymous data to share with the Home Assistant development team > Click Next
Click Finish
Welcome to Home Assistant9) Troubleshooting
If something's going wrong, use journalctl -f to get your system logs. I am no HA expert so I problably would not be able to help.Hope this helps
!3runo
from Brazil
-
Quote
No typo. Armbian image has all the things in the right places to boot as explained in the instructions.
Supposing you have eMMC/eMCP, to boot from SD card you need one of these:
- to clean the internal flash memory, or
- install Armbian on internal flash memory
Thank you @jock for this hint! I was trying Armbian_23.8.1_Rk322x-box_jammy_current_6.1.50_minimal.img directly from the SD without installing to check if it would work before burning the unit (just getting blue and red LEDs shine very tiny at each attempt) and was wondering why multitool would run from the SD and the image, won't.
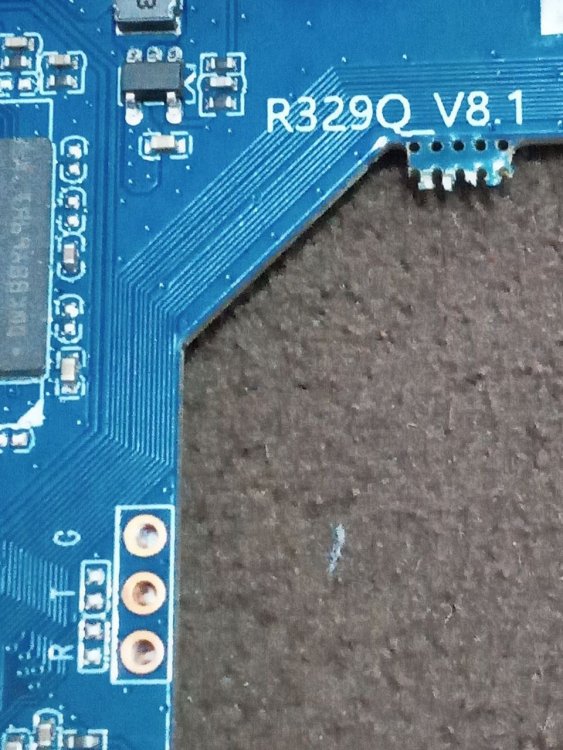
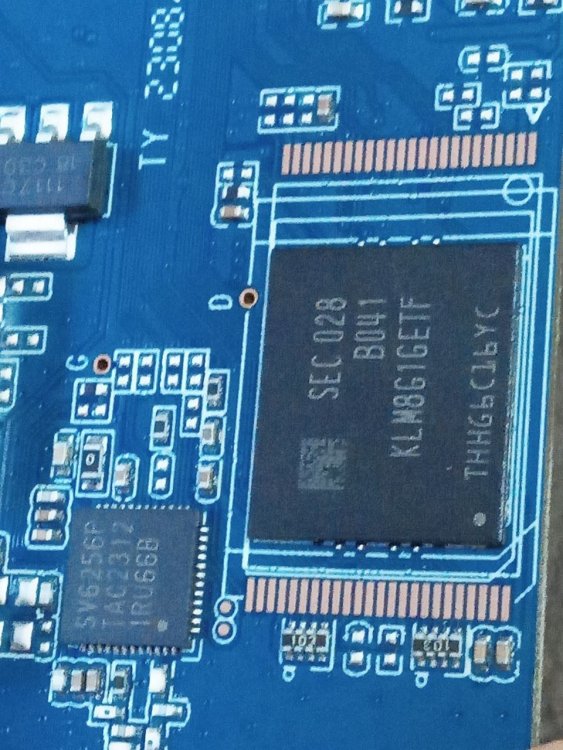
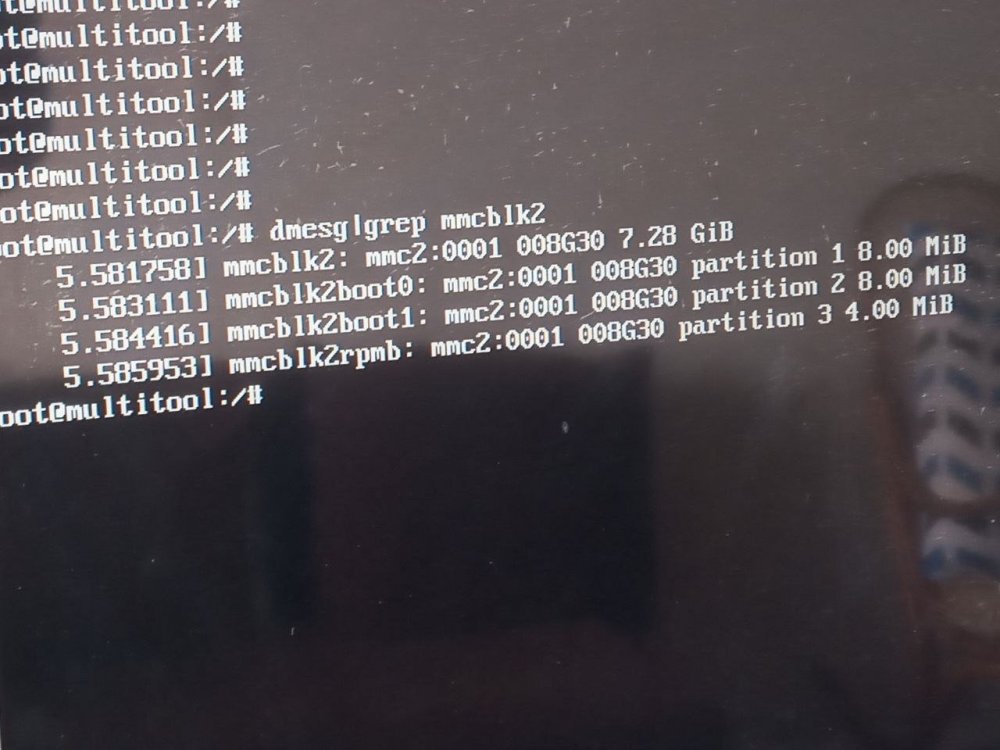
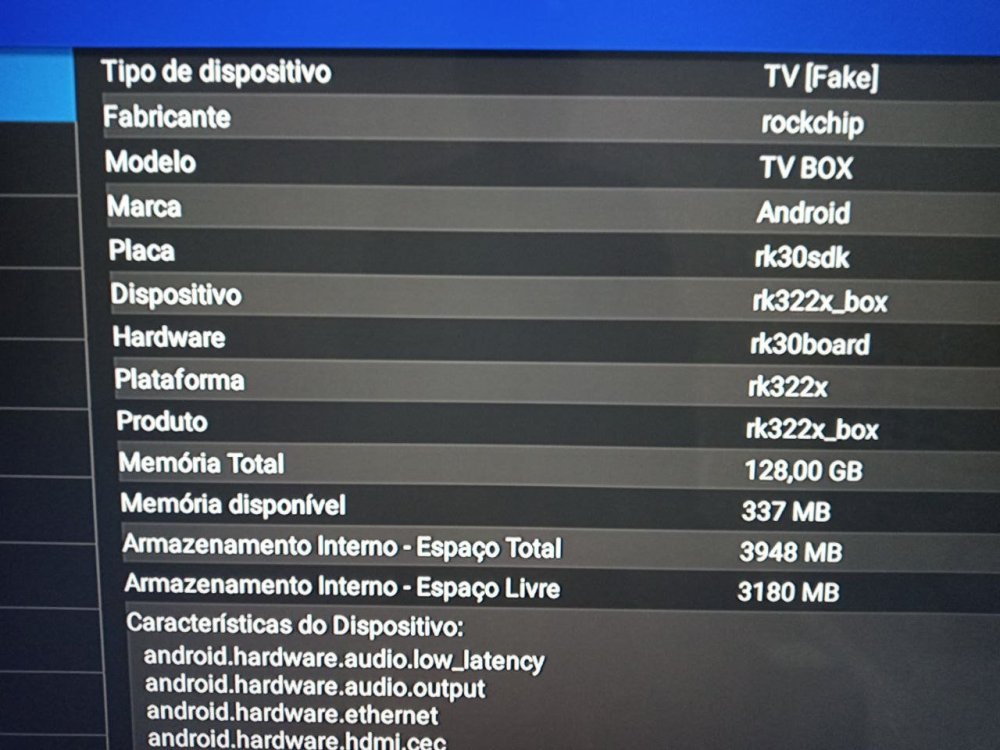
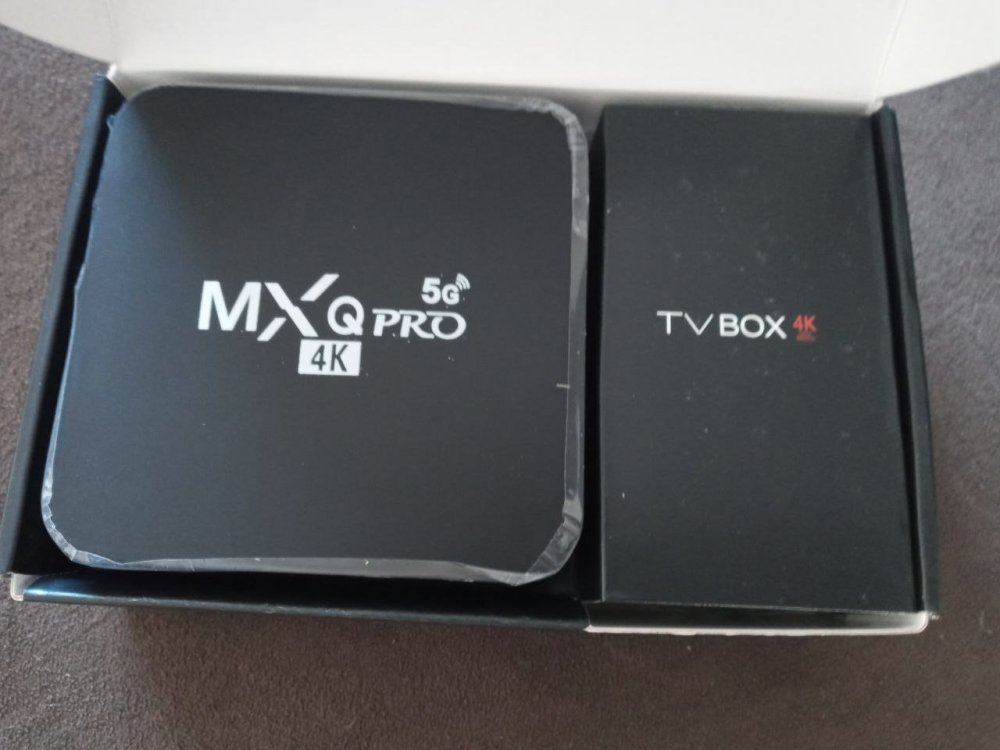
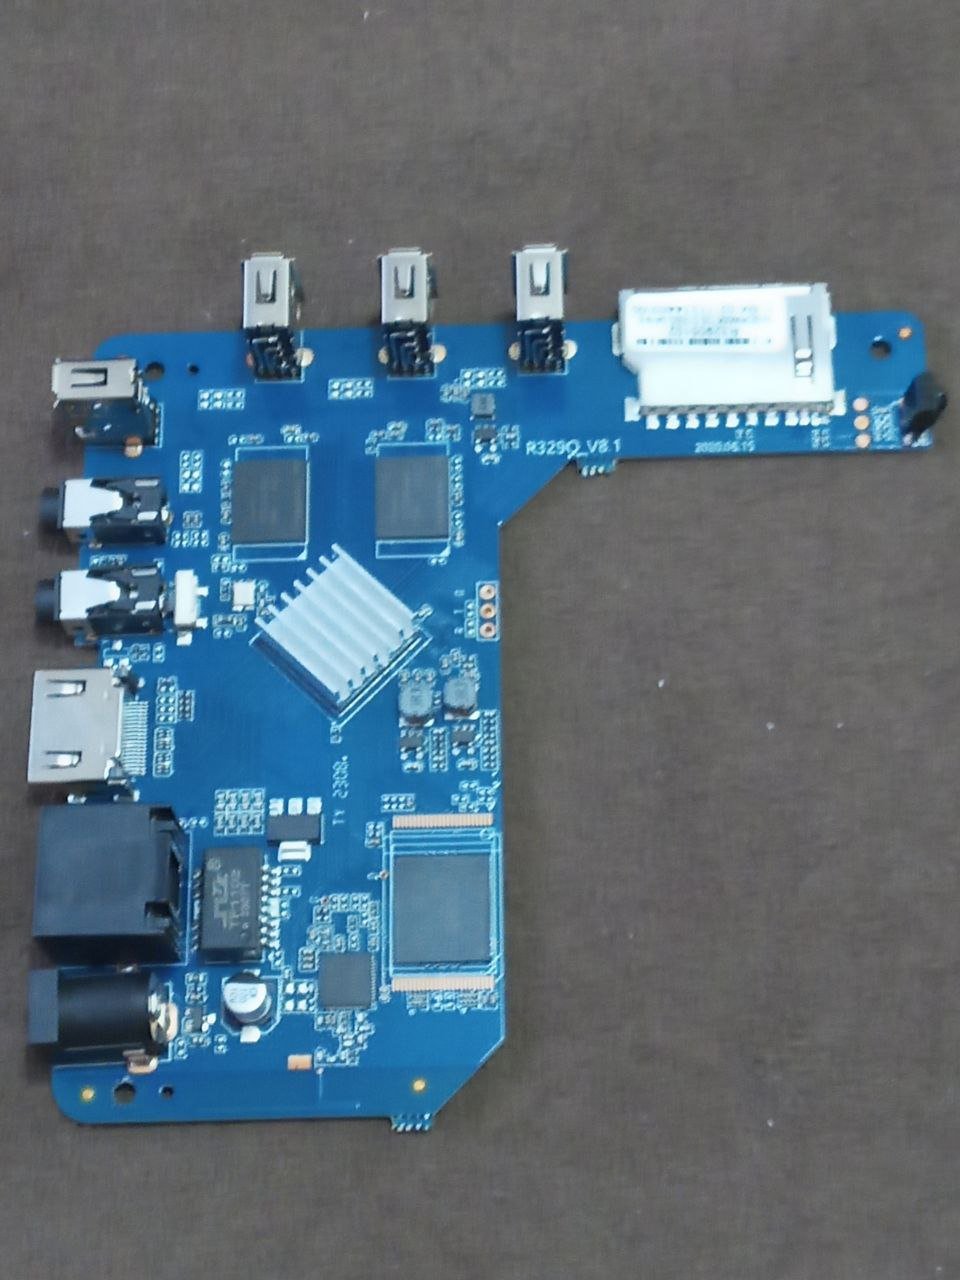
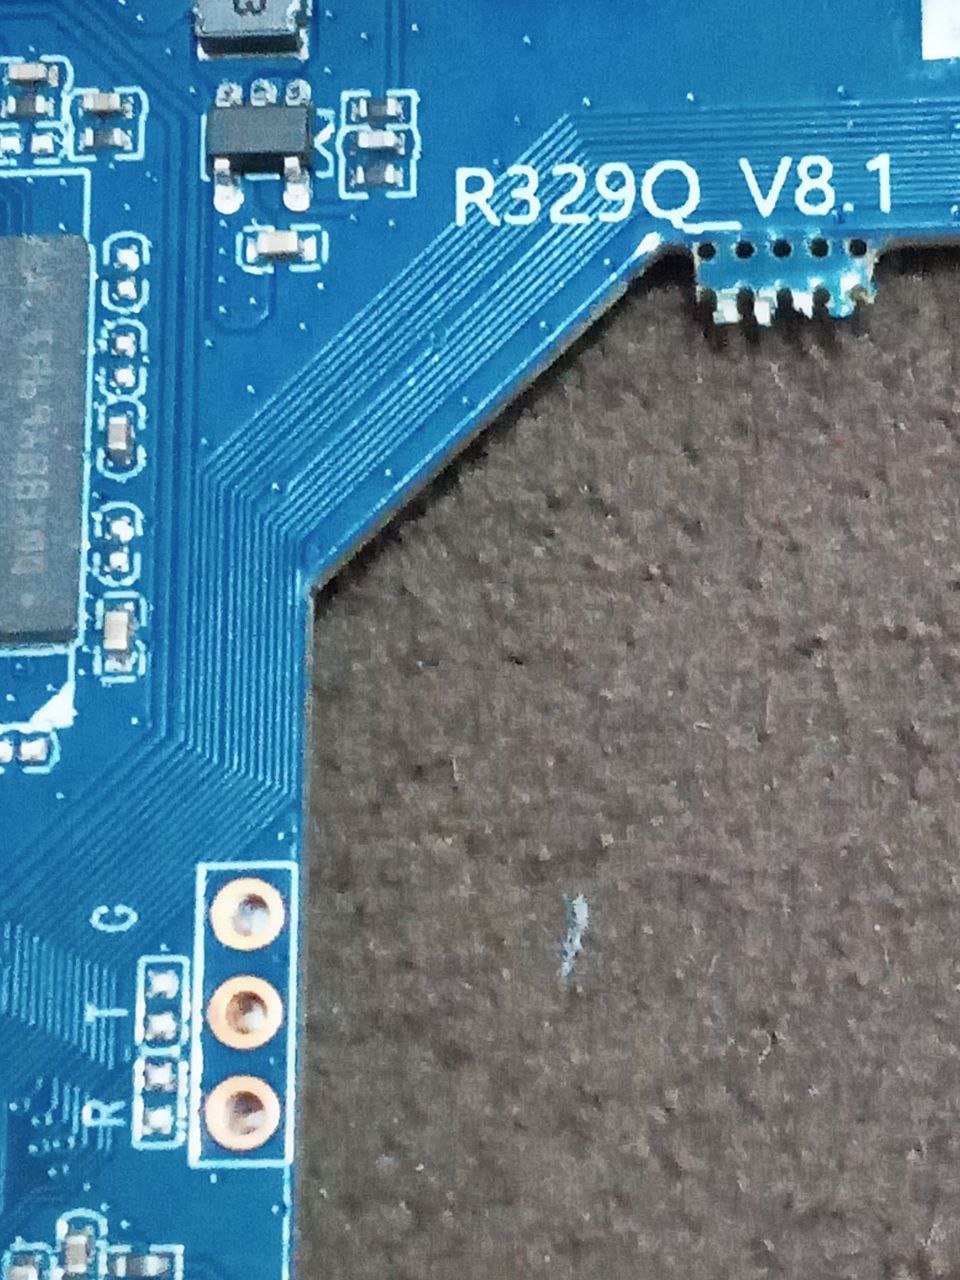
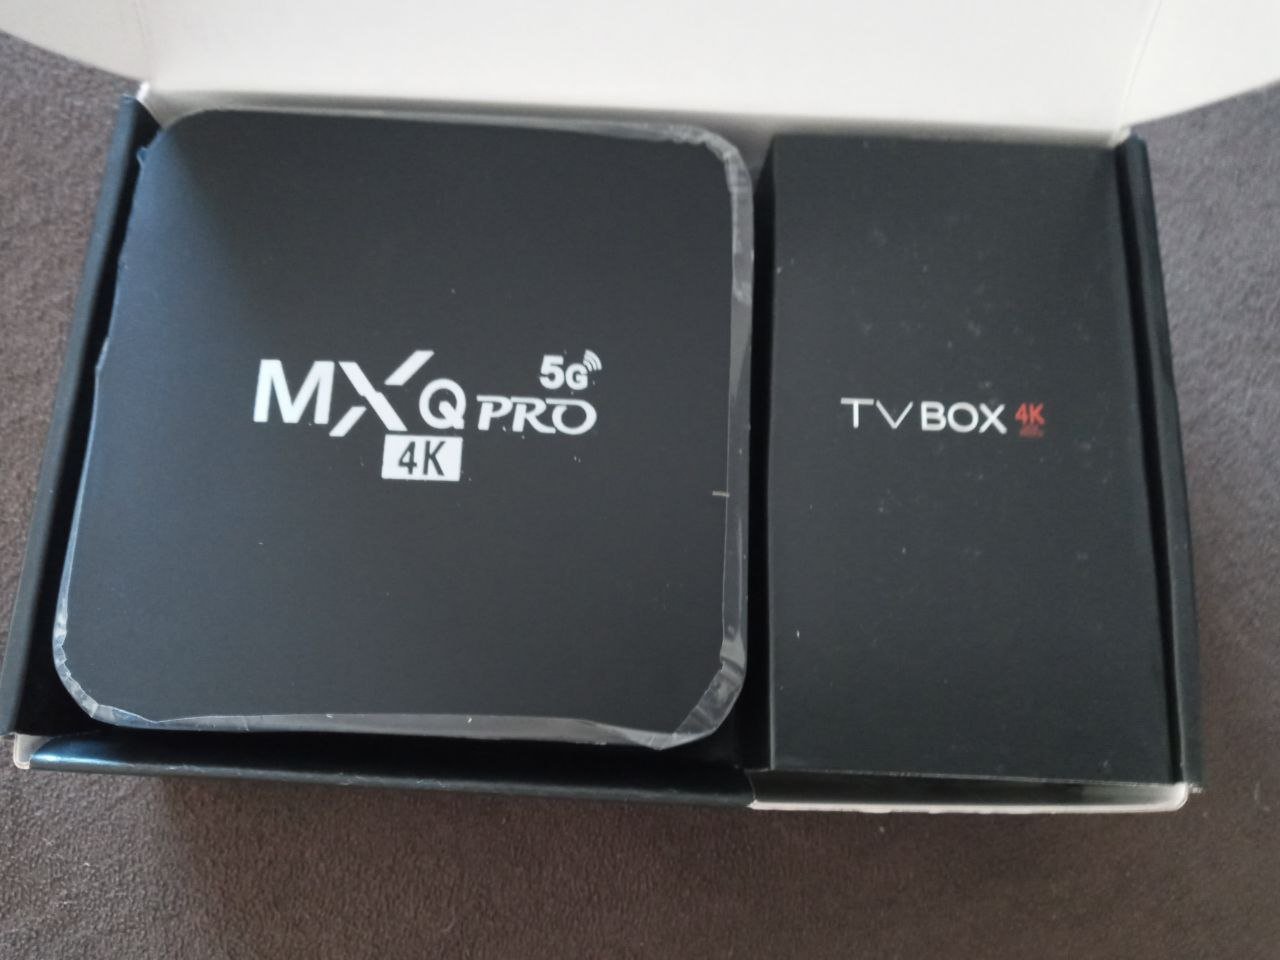
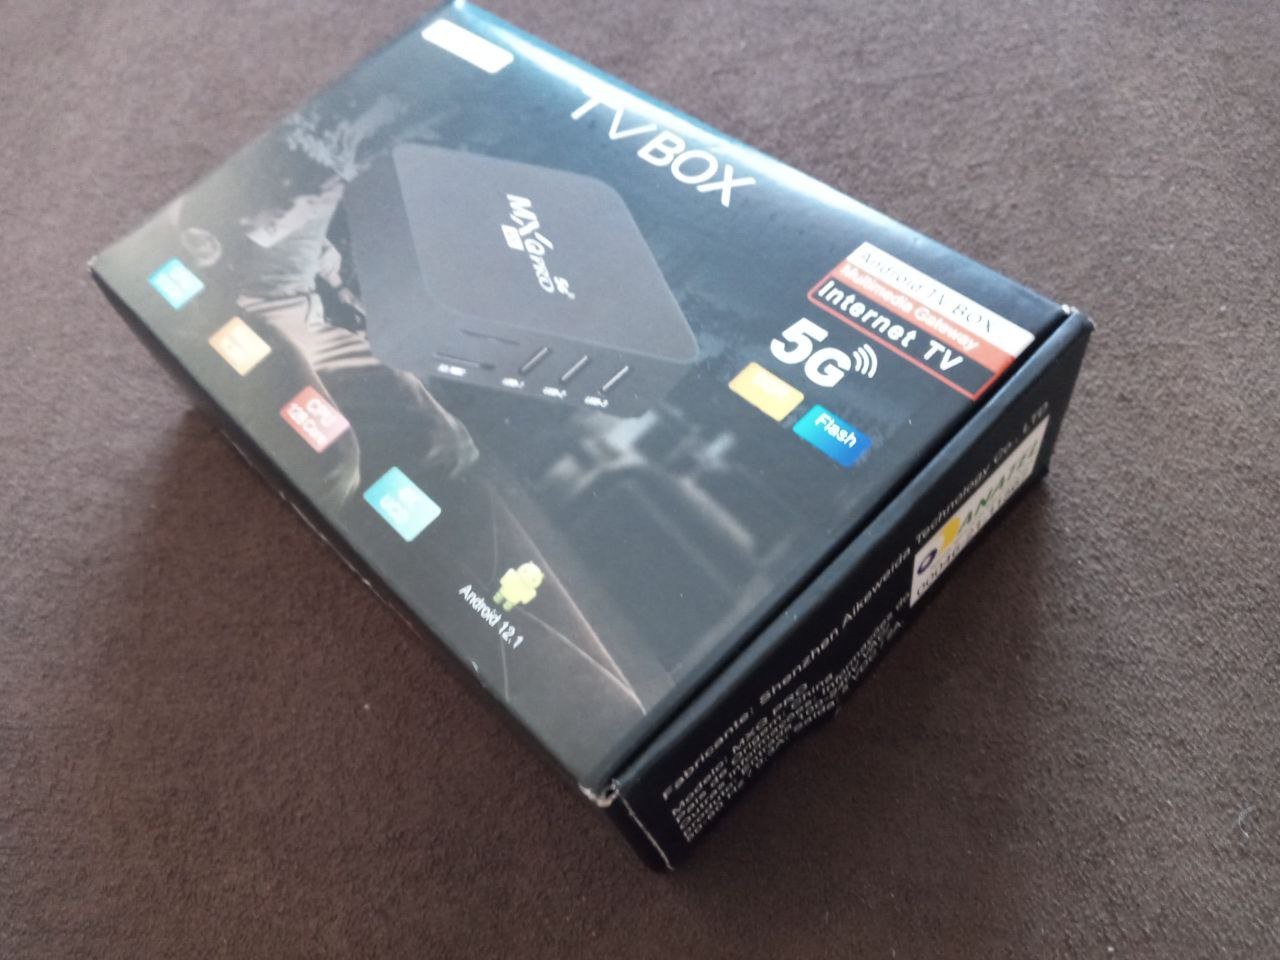
My unit is the cheap MXQ Pro 4k 5g with R329Q_V8 board. It has 4 H5TC2G43BFR-H9A DDR3L DRAM, 512MX4 memory chips (1GB RAM total), a KLM8G1GETF-B041 eMMC 5.1 (8GB) and the SV6256P wireless. After installing it successfully booted, I plug a spare USB WIFI dongle I had and enabled internet access using nmtui to apt update && apt upgrade
I select on rk322x-config rk3228 no pins and overlays=emmc led-conf2, are these the right settings for this board?
My goal was to setup a cheap print server for an old non-wifi printer I have and thanks to you guys awesome work I succeed
While preparing I managed to get some info from the board using the shell from multitool
# hexdump -C /sys/bus/nvmem/devices/rockchip-efuse0/nvmem
00000000  52 4b 23 82 81 d4 70 55  52 4b 4e 30 39 30 32 35  |RK#...pURKN09025|
00000010  00 00 00 00 01 2c 15 03  00 03 81 00 00 80 00 00  |.....,..........|

--> 3228 chip
(I was not able to remove the heatsink to check if the RK3228 is a or b, it is very well glued)
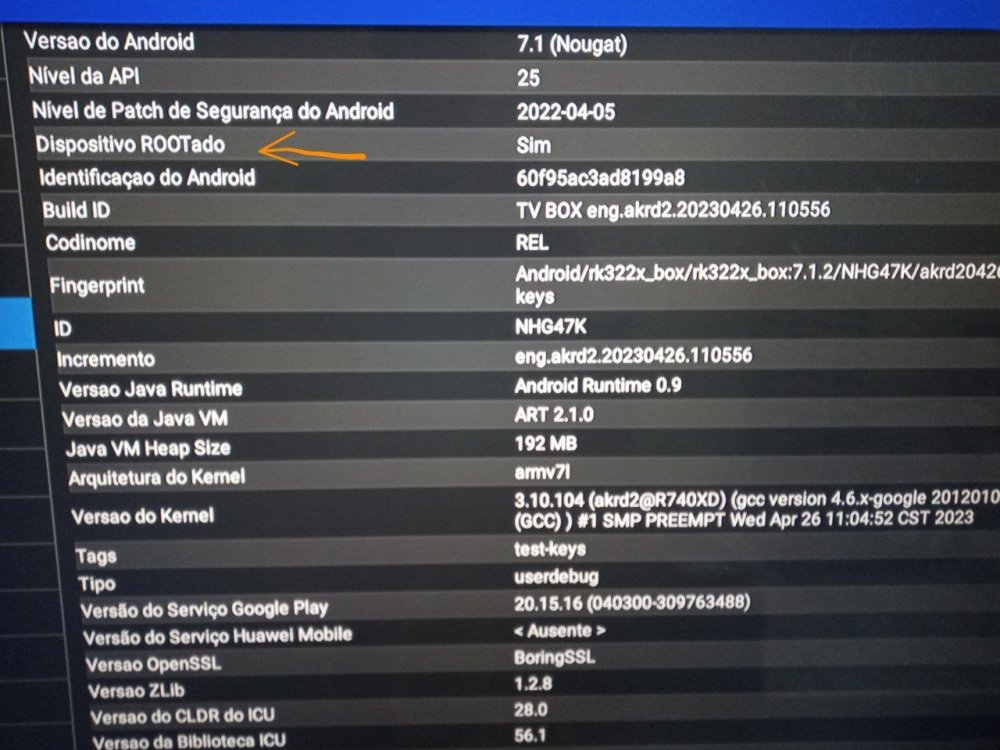
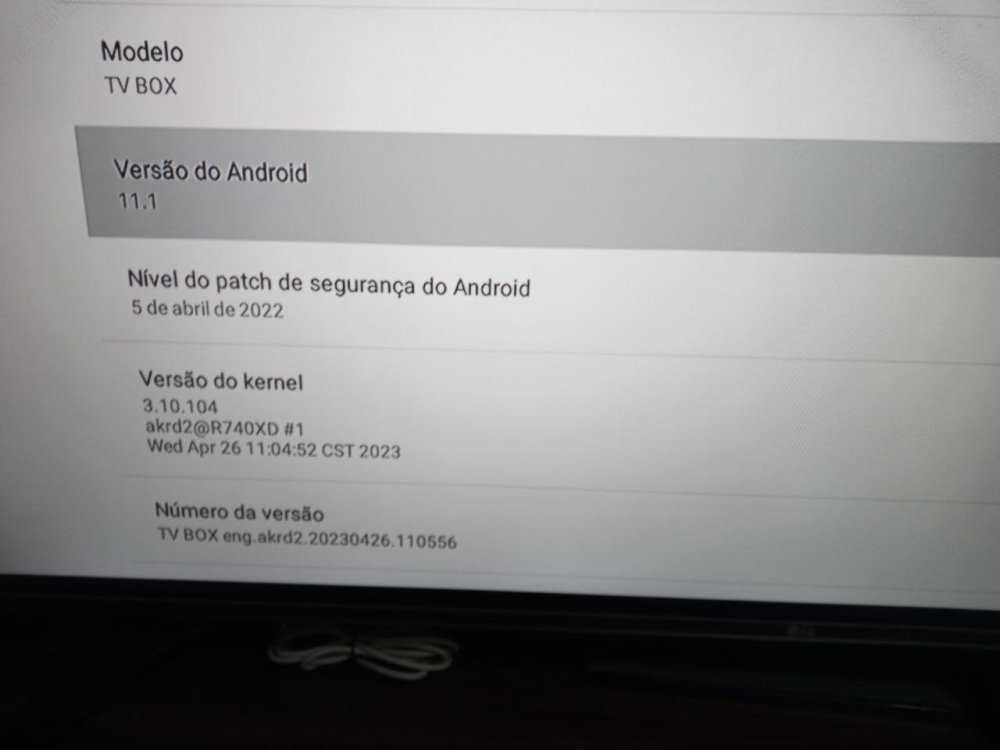
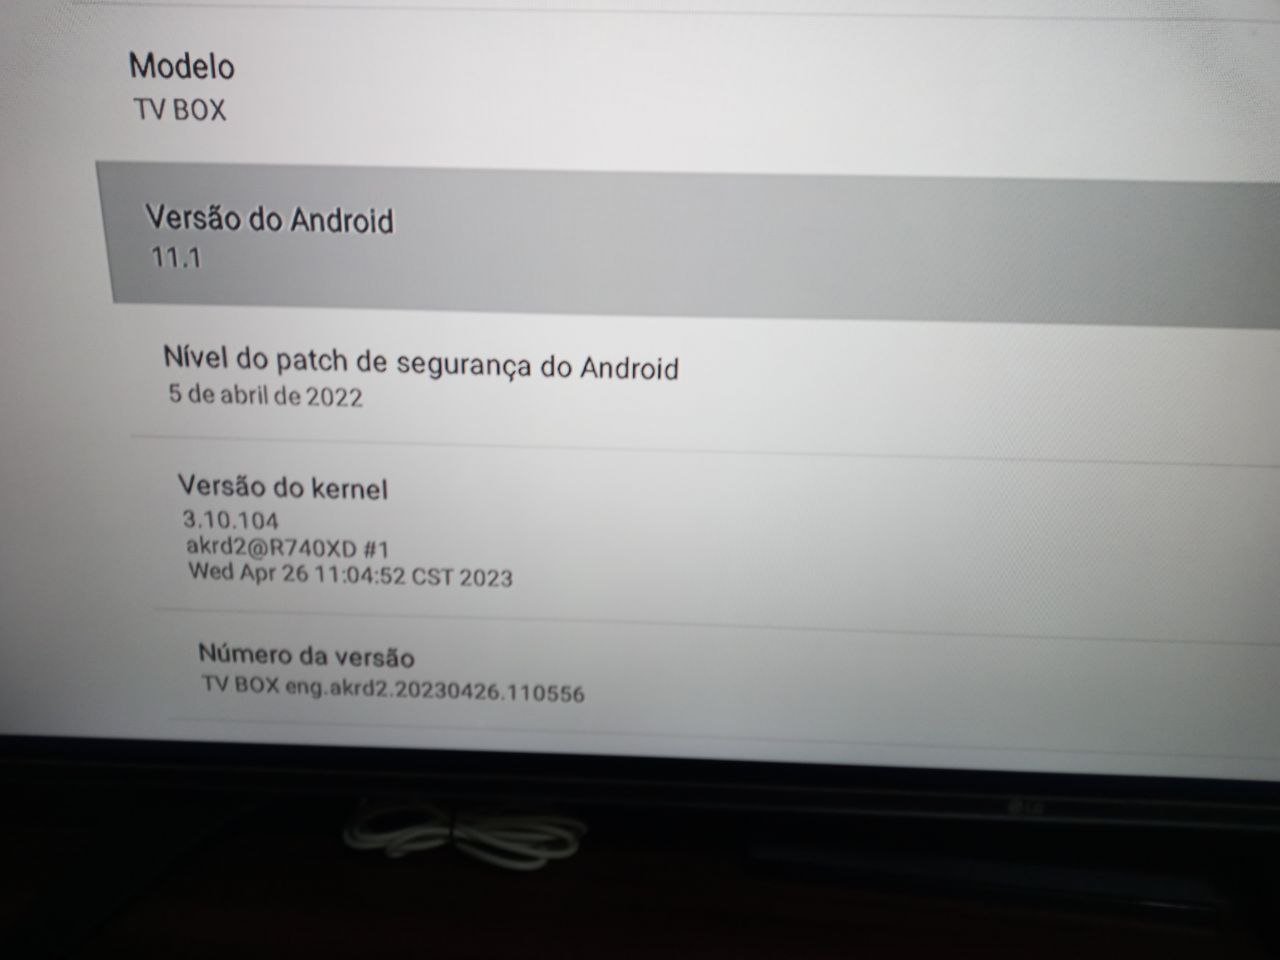
# cat /sys/class/devfreq/dmc/trans_stat
cat: /sys/class/devfreq/dmc/trans_stat: No such file or directory

--> shows that unit is not using frequency scaling
# cat "/sys/bus/mmc/devices/mmc1:0001/mmc1:0001:1/modalias" sdio:c07v3030d3030Some pictures of the board and from the android that came with it attached (system's and Aida64). There are R T and GND points on the board but I didn't try a serial there
I made a backup of the android that came installed, if anyone wants just tell and I'll post a link
Thank you @jock @fabiobassa @hexdump @knaerzche Igor Pecovnik, Justin Swartz and all others that contributed so much for Ambiam project and to this port.
Cheers
!3runo
from Brazil
(As a side note, I was able to get rid of the annoying adware that popups every time android booted - the video at /system/media/bootanimation.ts - by adding to /system/build.prop the following single line using adb or an file manager app capable of editing files. The box came factory rooted and with adb network enabled - beware of that if you use its android!)
debug.sf.nobootanimation=1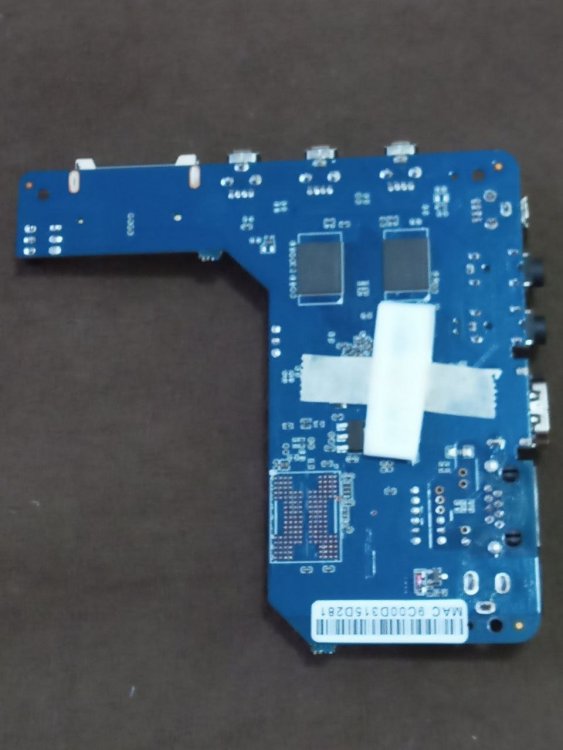


CSC Armbian for RK322x TV box boards
in Rockchip CPU Boxes
Posted
@Andr1k
If I understand correctly the rtl8188 driver is compatible with your rtl8189, so you may try this
https://forum.armbian.com/topic/26917-rtl8188fu-driver-install/
https://github.com/sgjava/rtl8188fu/tree/arm
Compile and install with (the script expects this way)
./rtl8188fu-arm/scripts/install.sh
I am running in my unit with success